Jewelry Armoire Construction Details
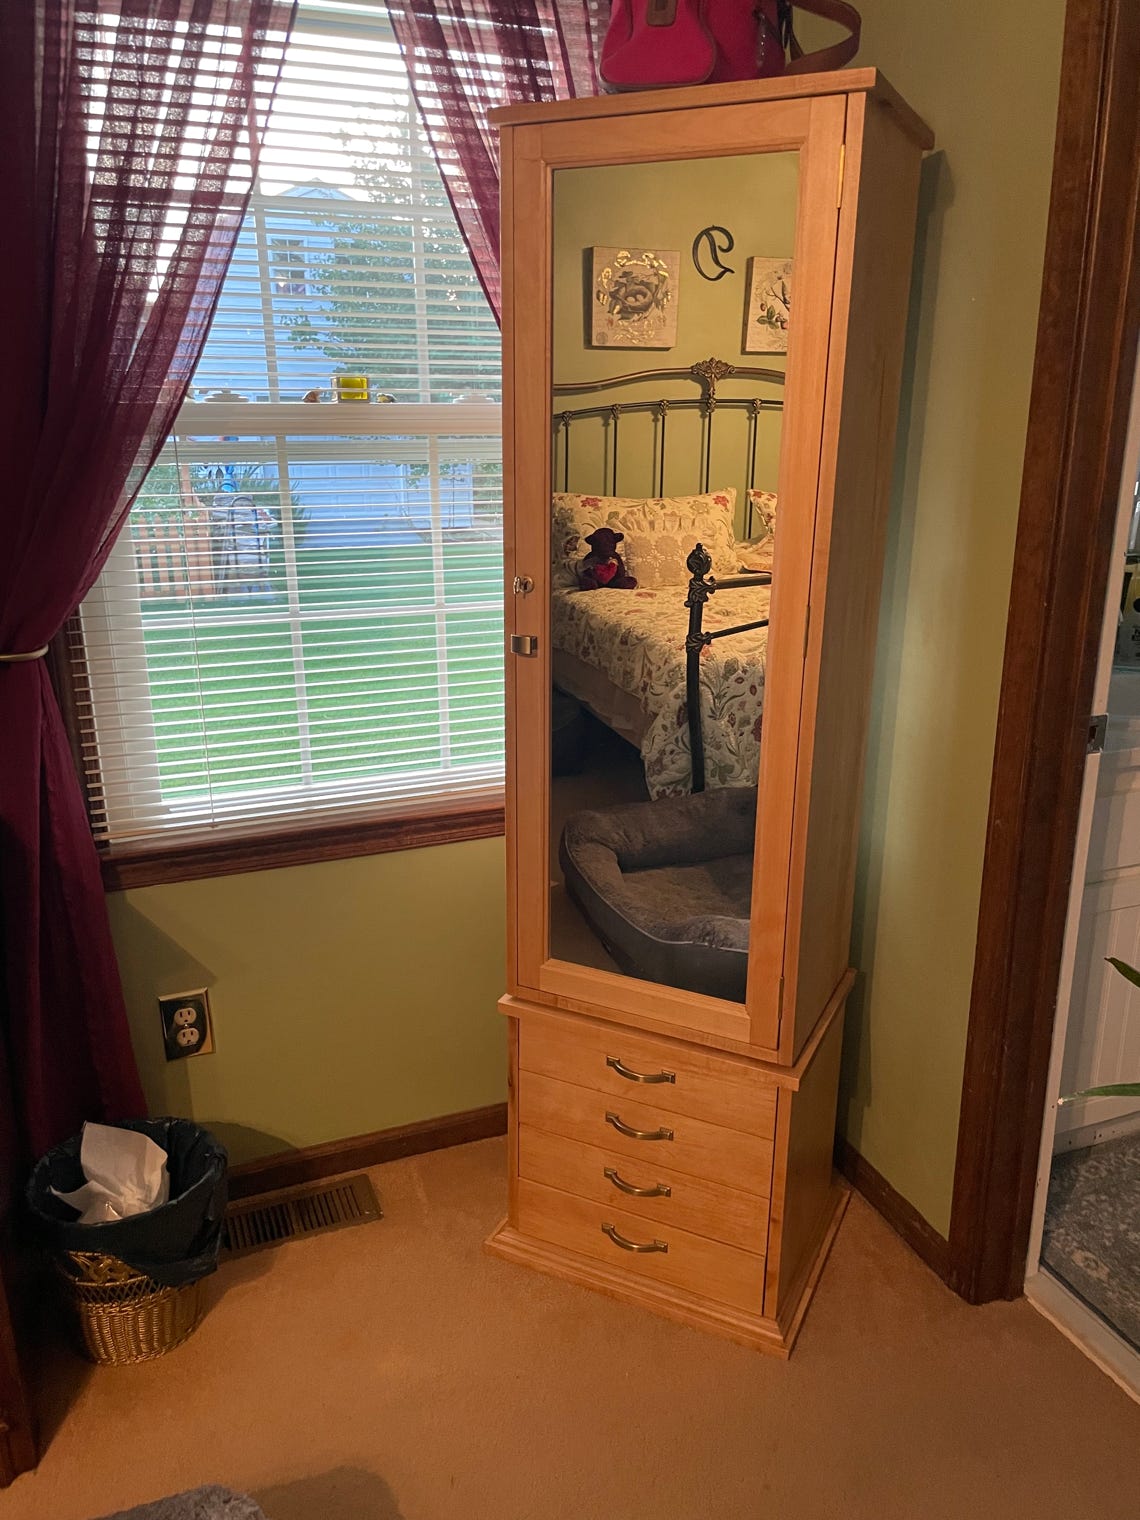
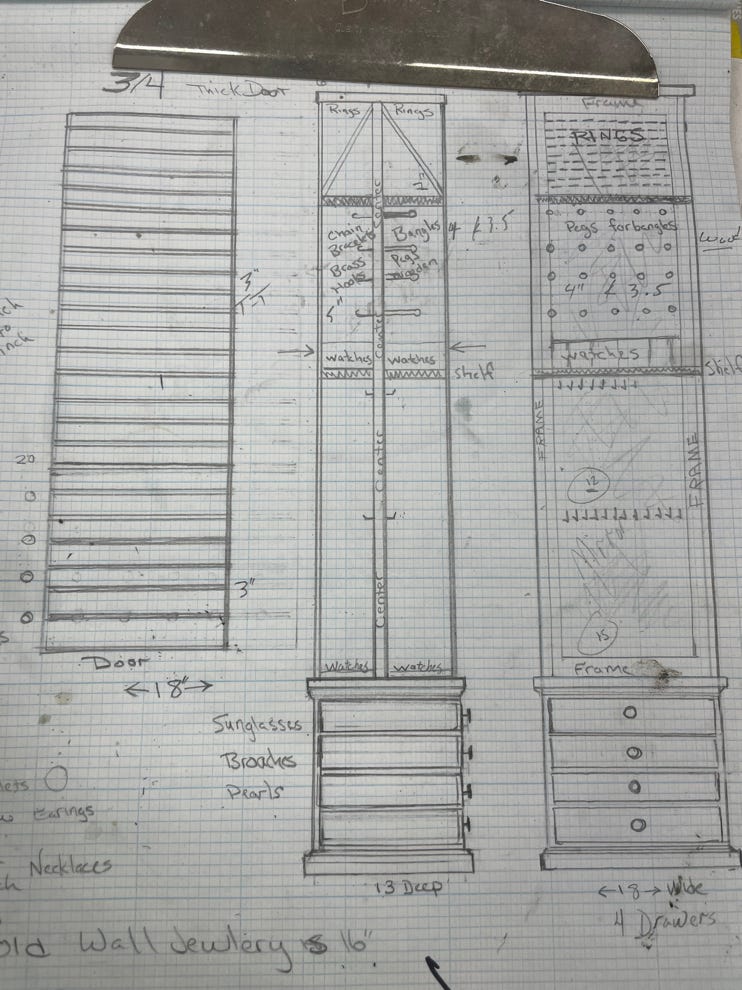
Fran drew a sketch of the Jewelry Armoire on graph paper. She did an excellent job. I took the sketch and used Moblo 3D to lay it out. Moblo 3D is a very inexpensive 3D modeling app that runs on windows and IOS devices. It is my go to for modeling my projects. The jewelry armoire consisted of a bottom section with 4 drawers and a two sided revolving top section with a mirrored door on each side. It was constructed entirely out of soft maple with satin brass hardware.
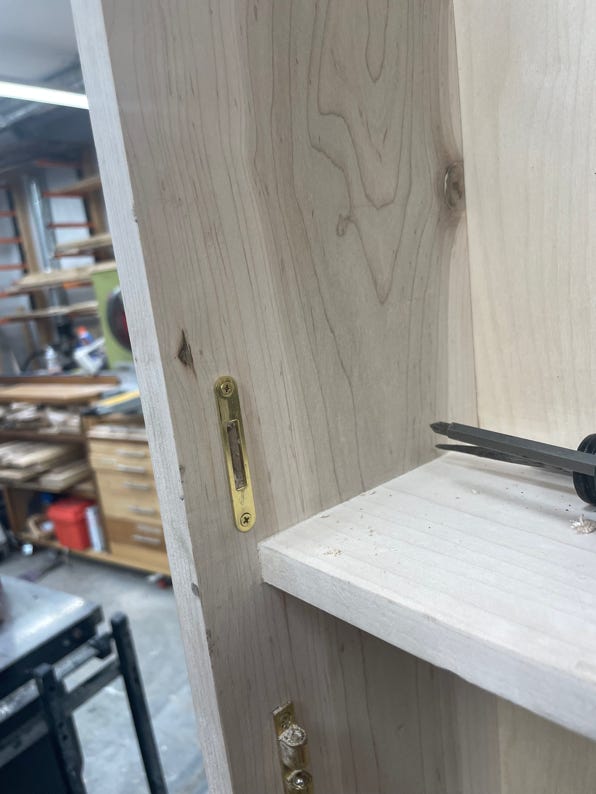
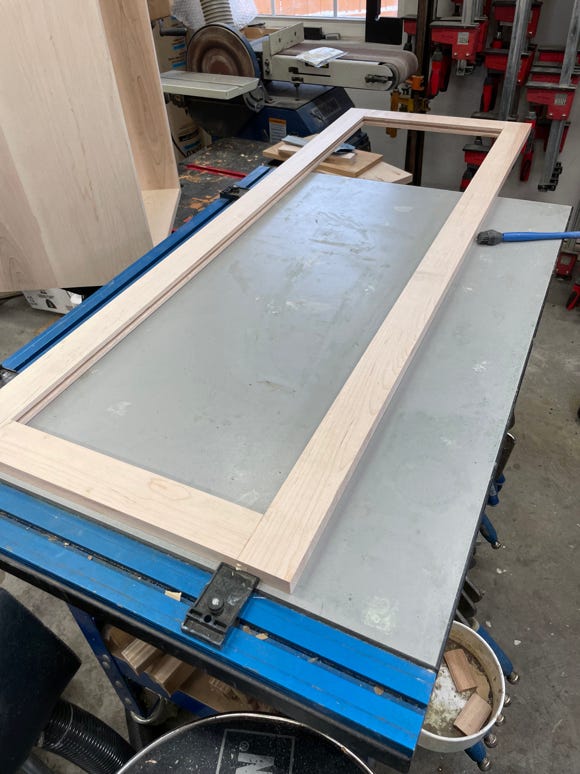
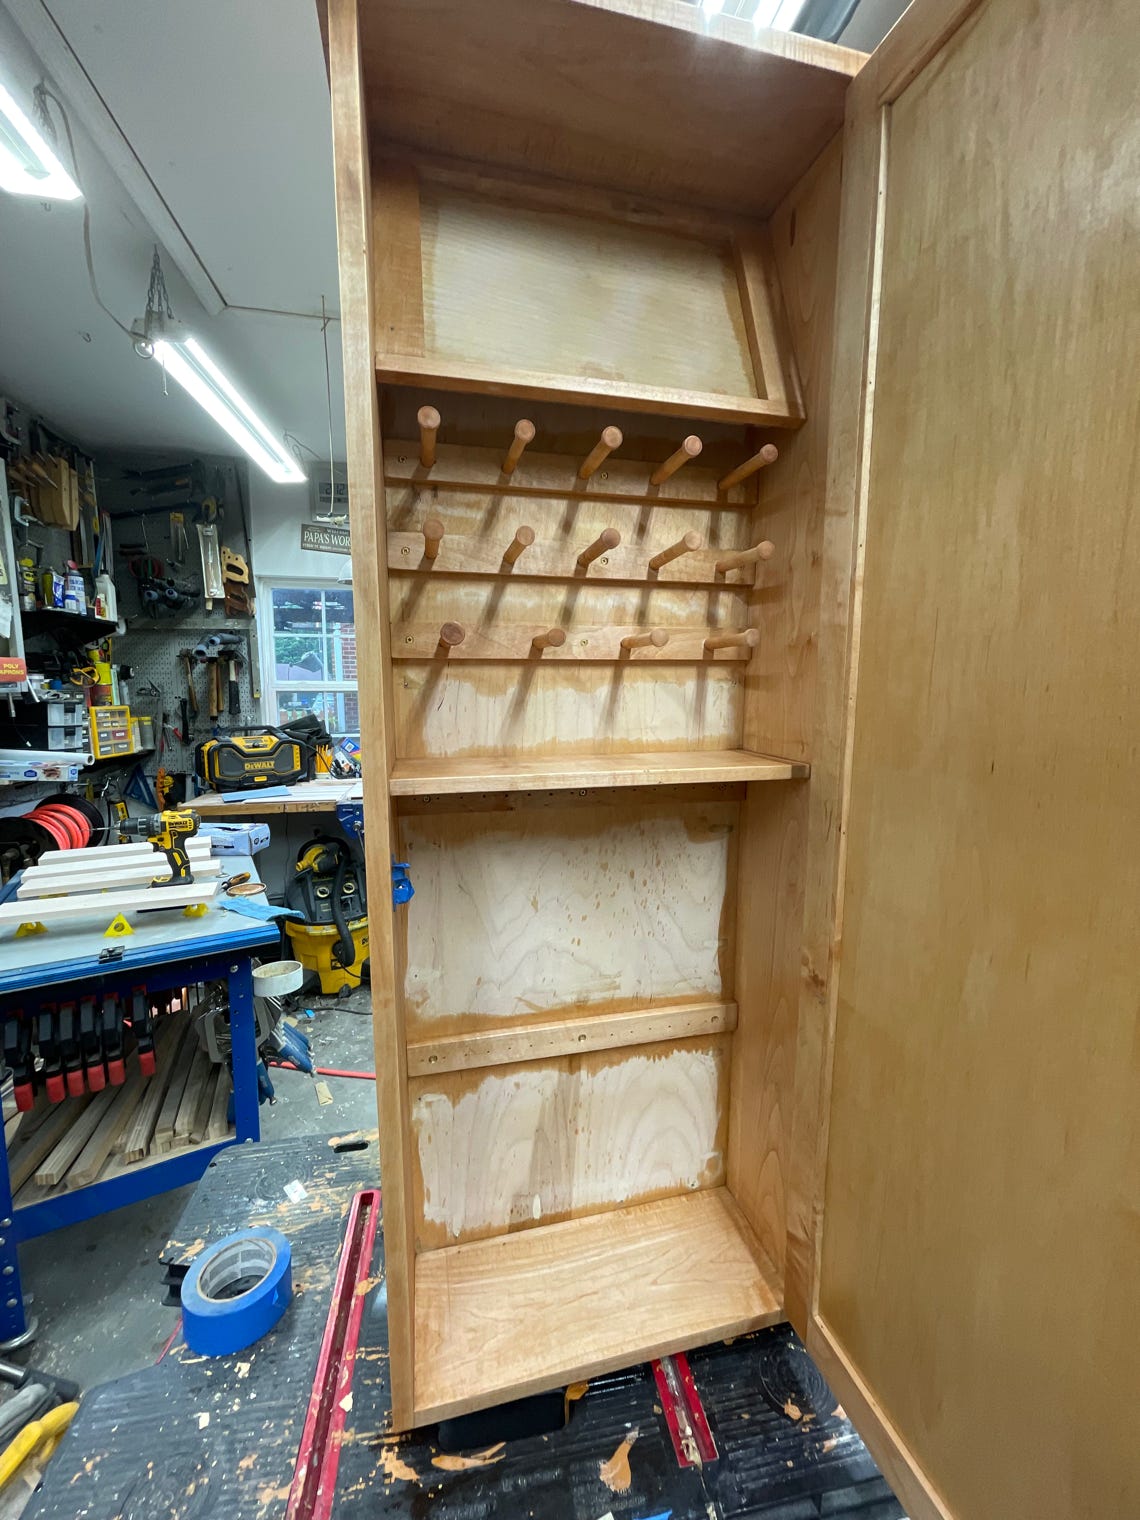
Next I installed the top angled frame for the ring holder, the boards and posts for the bracelets and bangles, the shelf divider and the strips for the hooks for the necklaces. The door went on in this photo also. The door is constructed with a 3/4” frame sing a mirror frame router bit set and a 1/4” backing to the mirror.
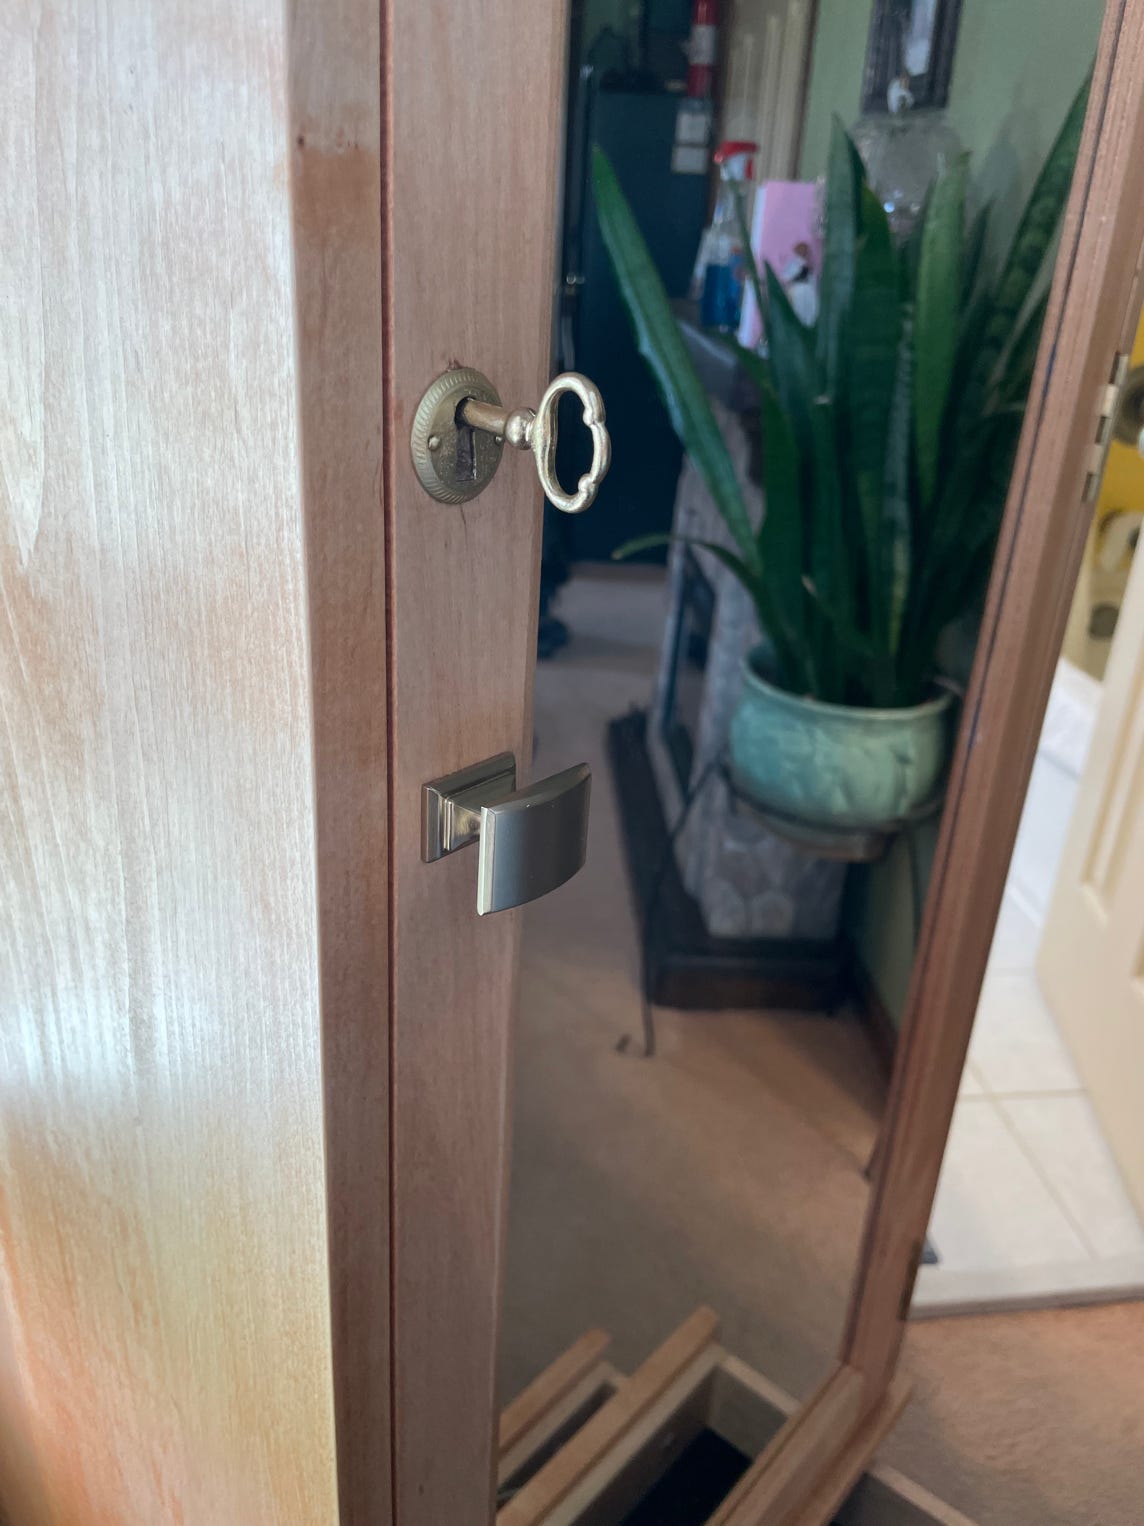
All hardware was attached.
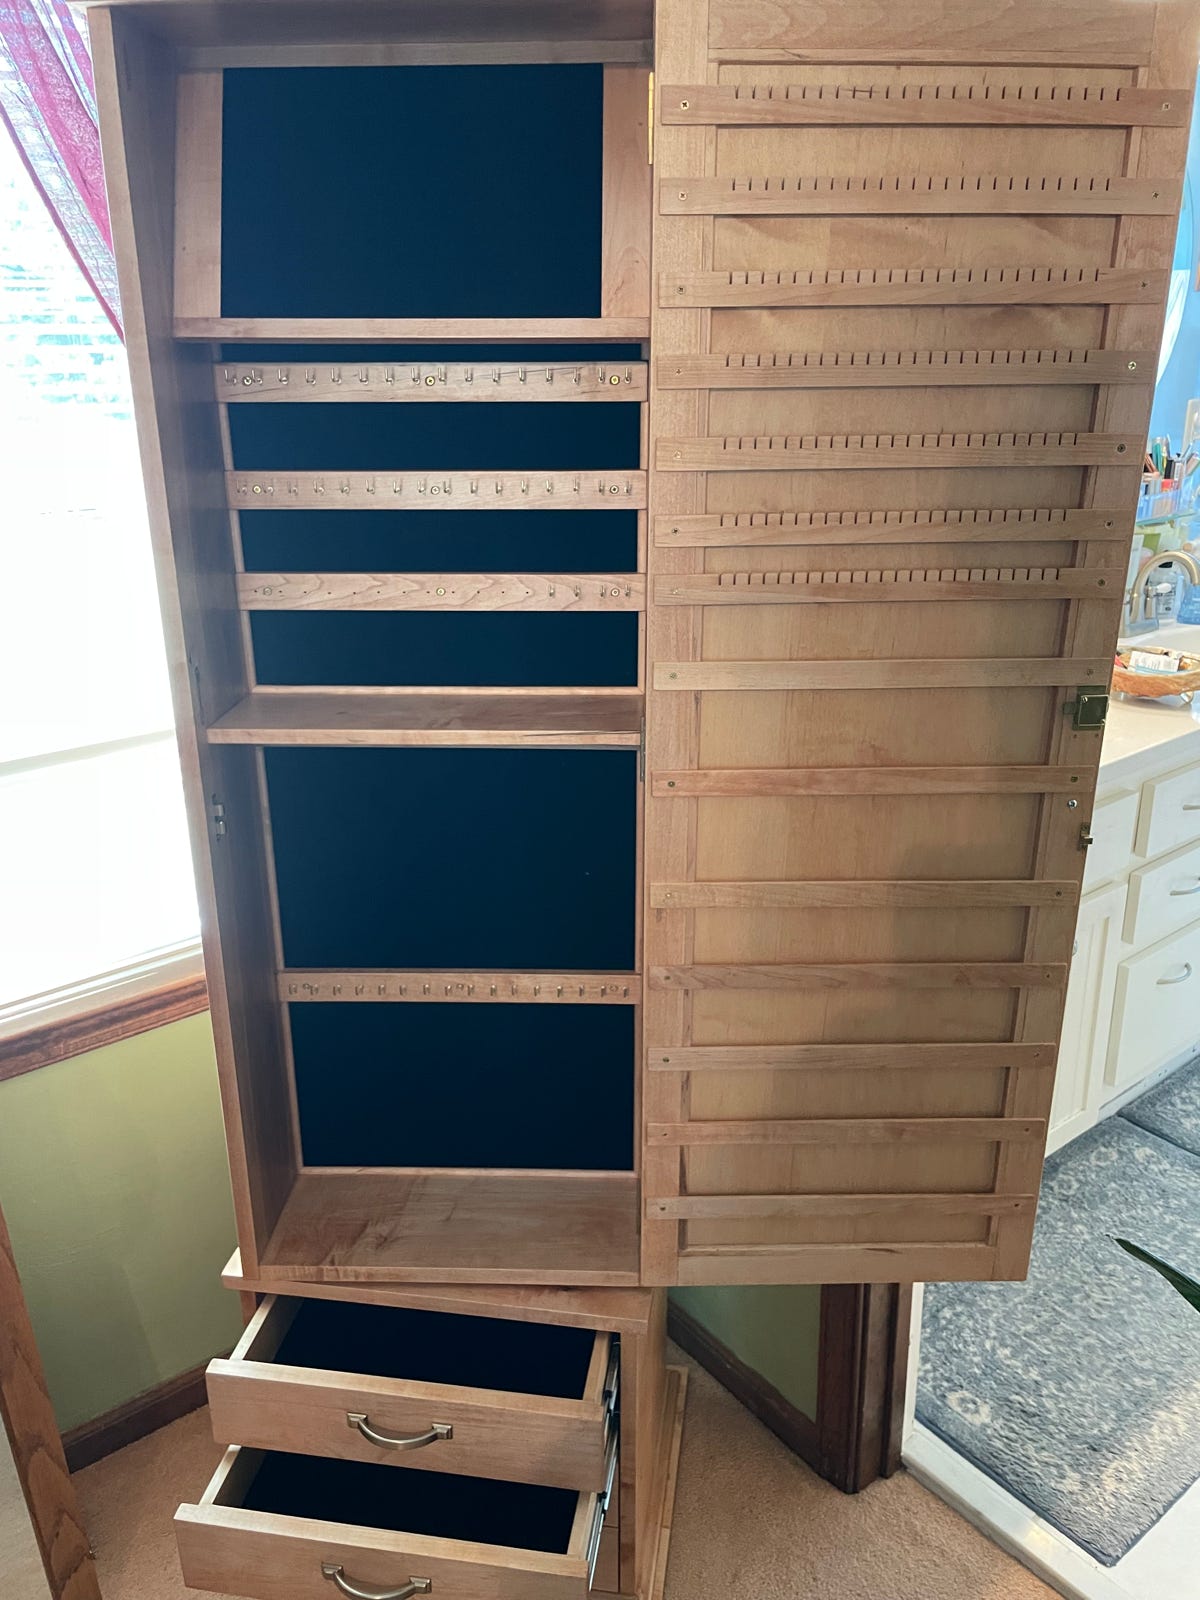
I hope you enjoyed seeing the process of how I made this valuable piece of furniture. Taking my time and attending to details is a relaxing and rewarding activity. I really enjoyed designing and making this but most of all I enjoy seeing Fran getting to use it. She really likes it. It is probably the best piece I have ever made right up there with Luke’s record cabinet. If you have any questions just hit the contact page and ask.
Next came the top section. I started with glueing up the panels. I used a Festool Domino to align the panels. The lumber for the panels was flattened and jointed then planed to 3/4” thickness. Panels were made oversize for final sizing on the on the table slaw sled. The top has an overhang to match the bottom section top overhang. Between the top and bottom is a heavy duty lazy susan which works flawlessly.
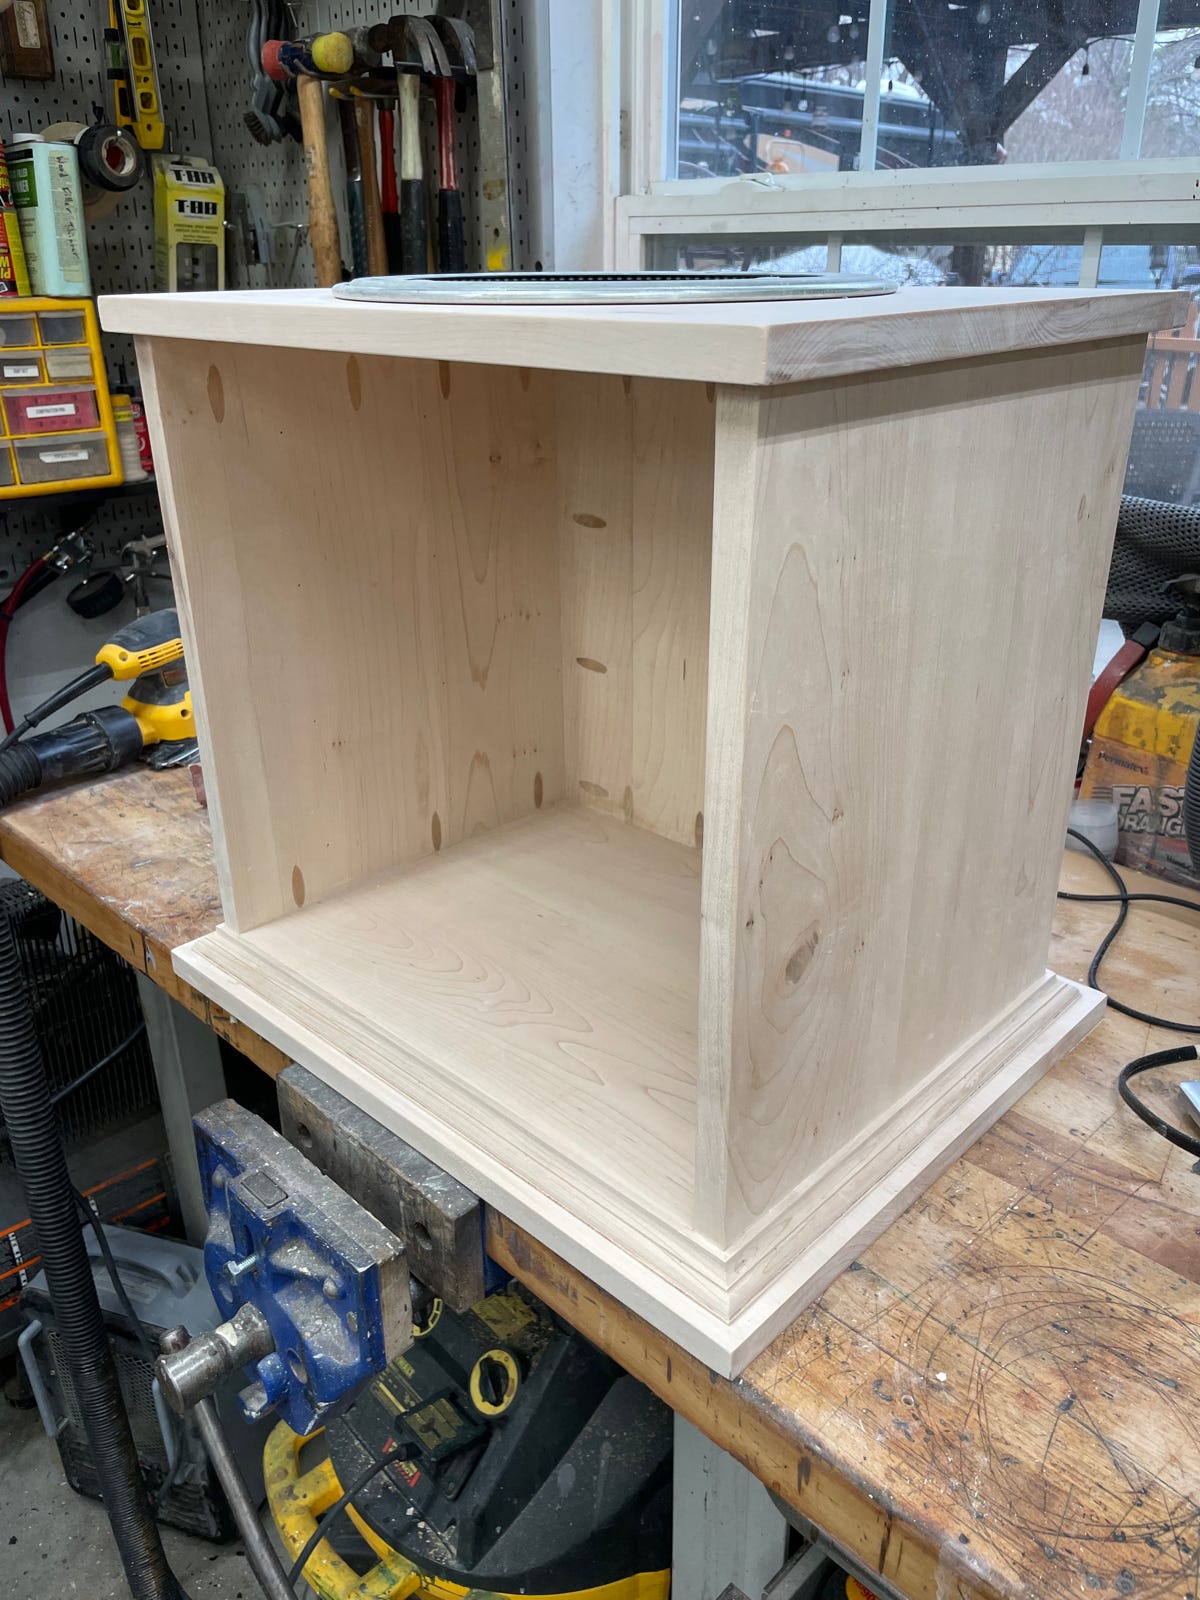
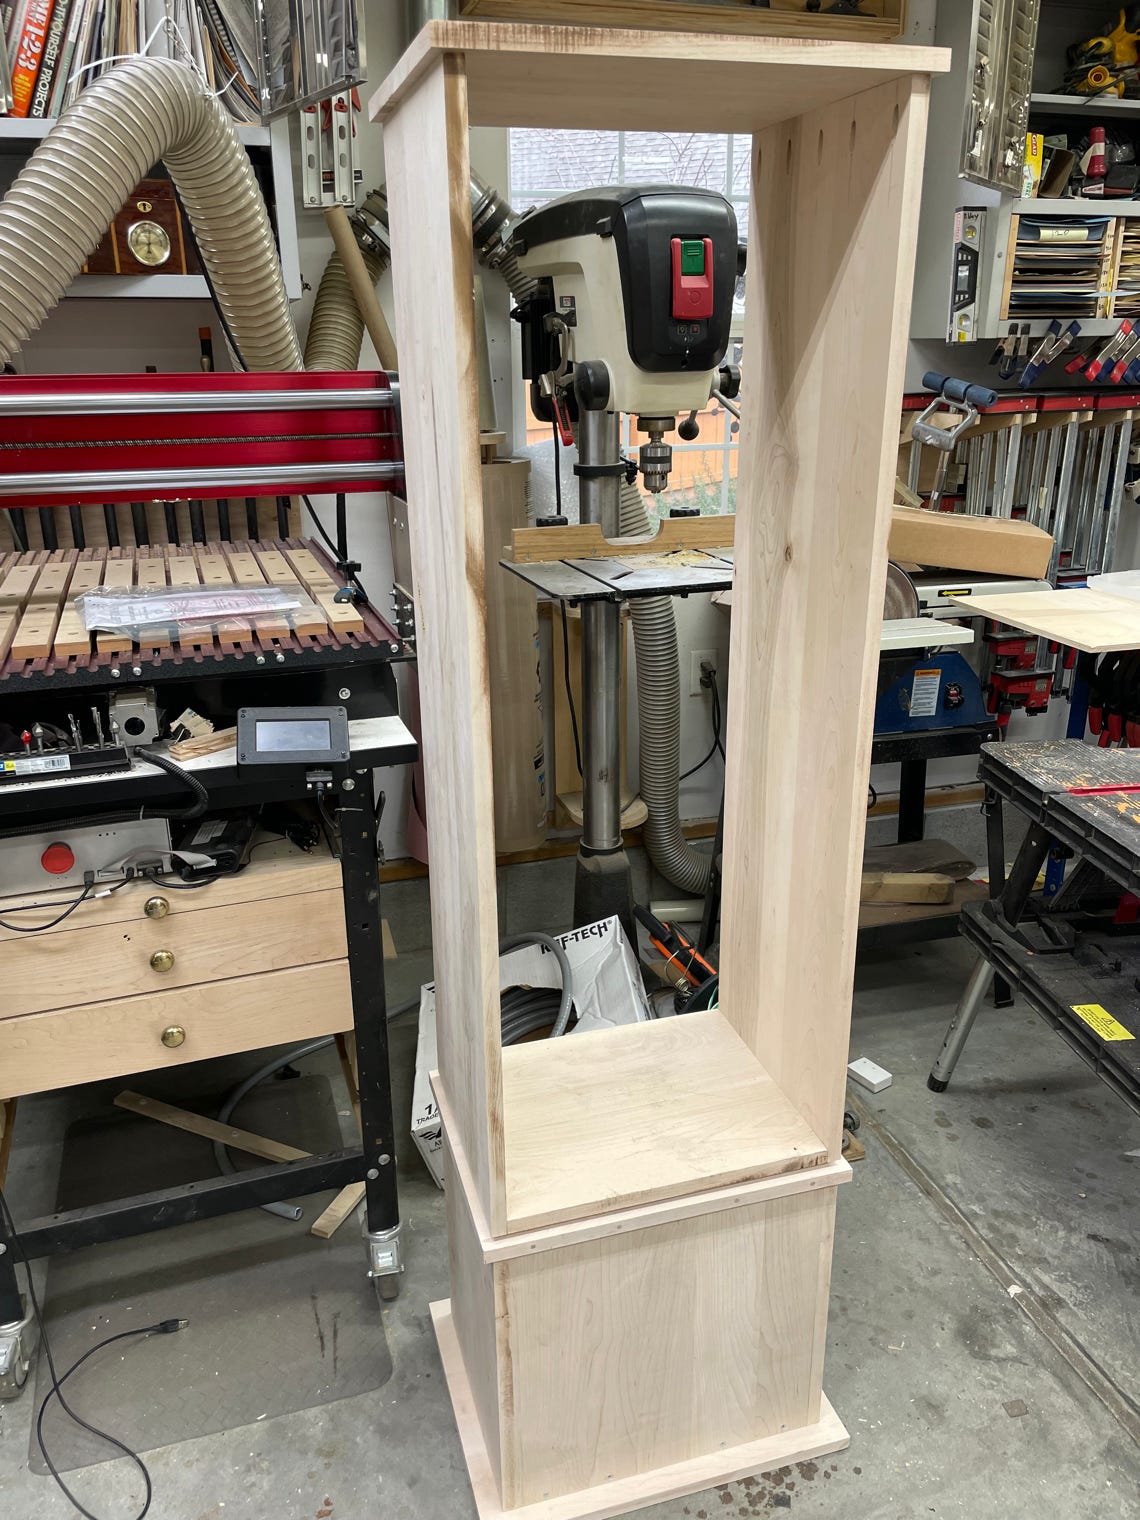
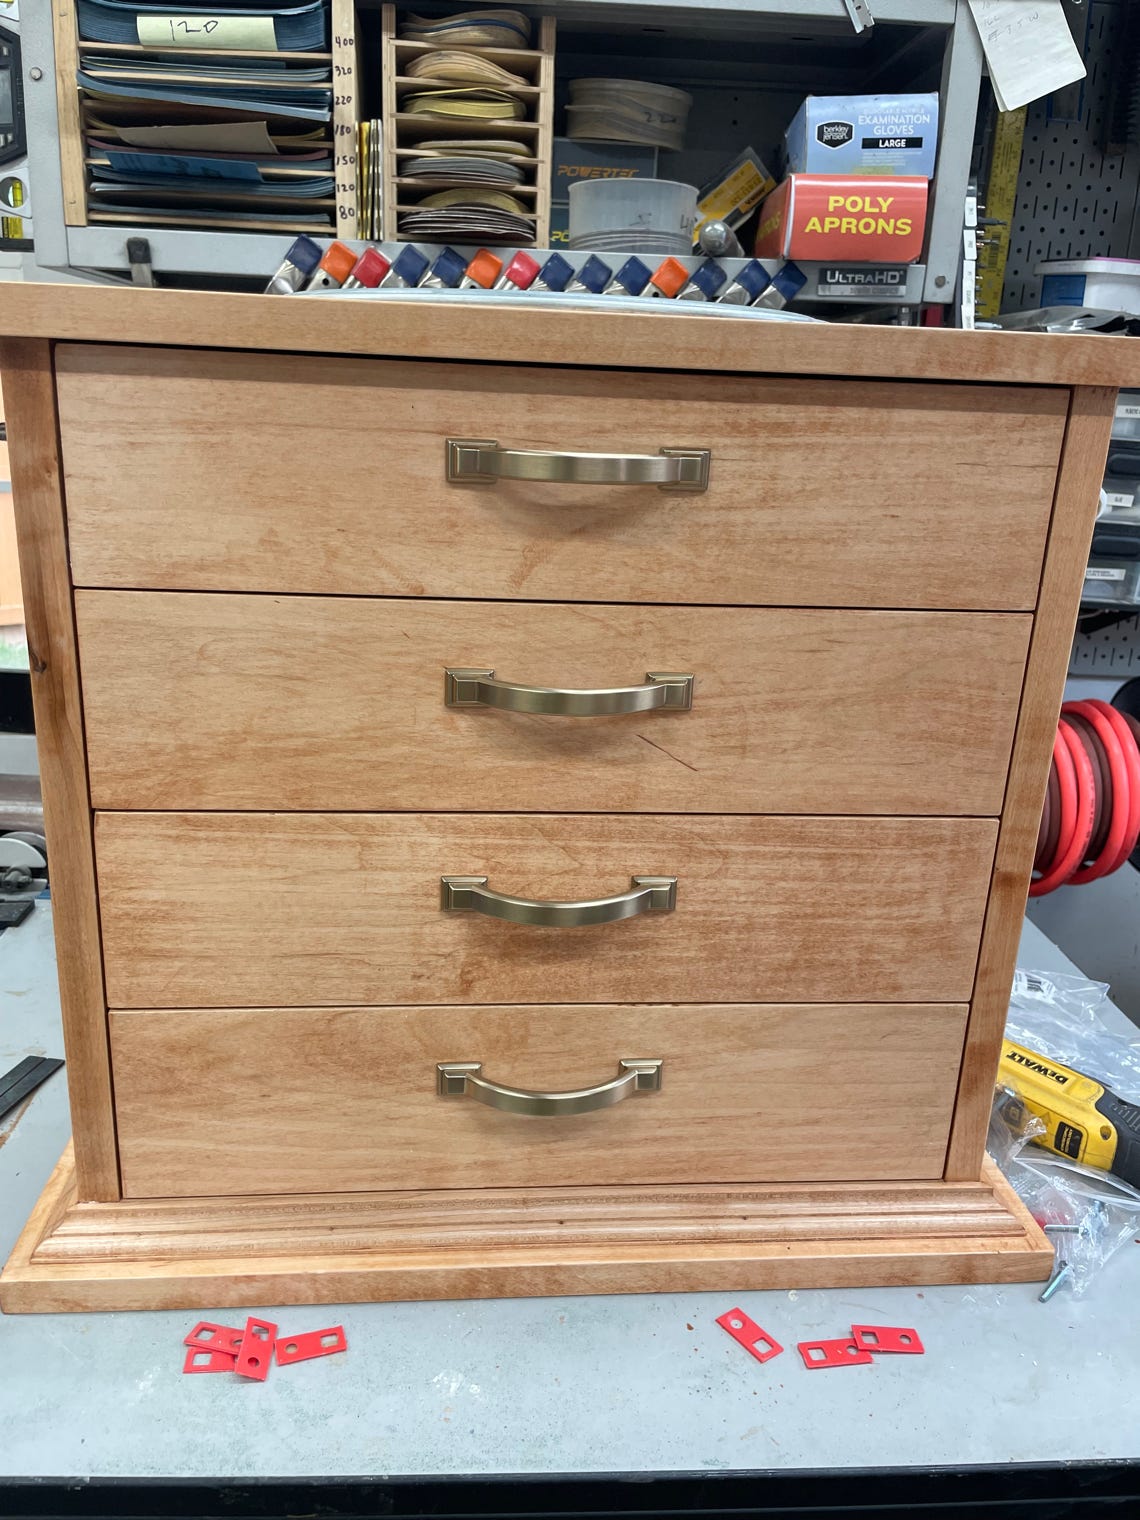
The first step was to construct the drawer section. The drawer section is constructe out of 3/4” glue-up panels for the sides, back, top and bottom and a larger additional bottom board giving it a stepped look. The top has a 1/2” overhang on the front and sides and is flush on the back. Trim was made on the router table and is on the bottom all the way around. The trim mitered precisely and there are no gaps in the corners or fitment. The exposed corners were slightly eased for durability and feel all the way around.
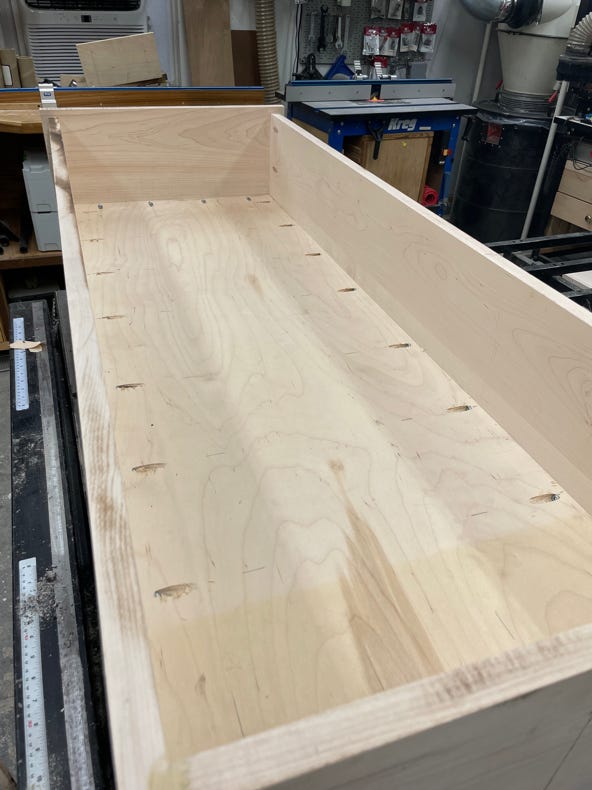
Next came the center divider. The center divider is slightly off center because of the design of the two sides. The divider was made from 3/4” plywood measured to fit and fastened with Kregg pocket screws. The pocket screw holes were filled with the Kregg pocked hole screw hole plugs and sanded smooth. After
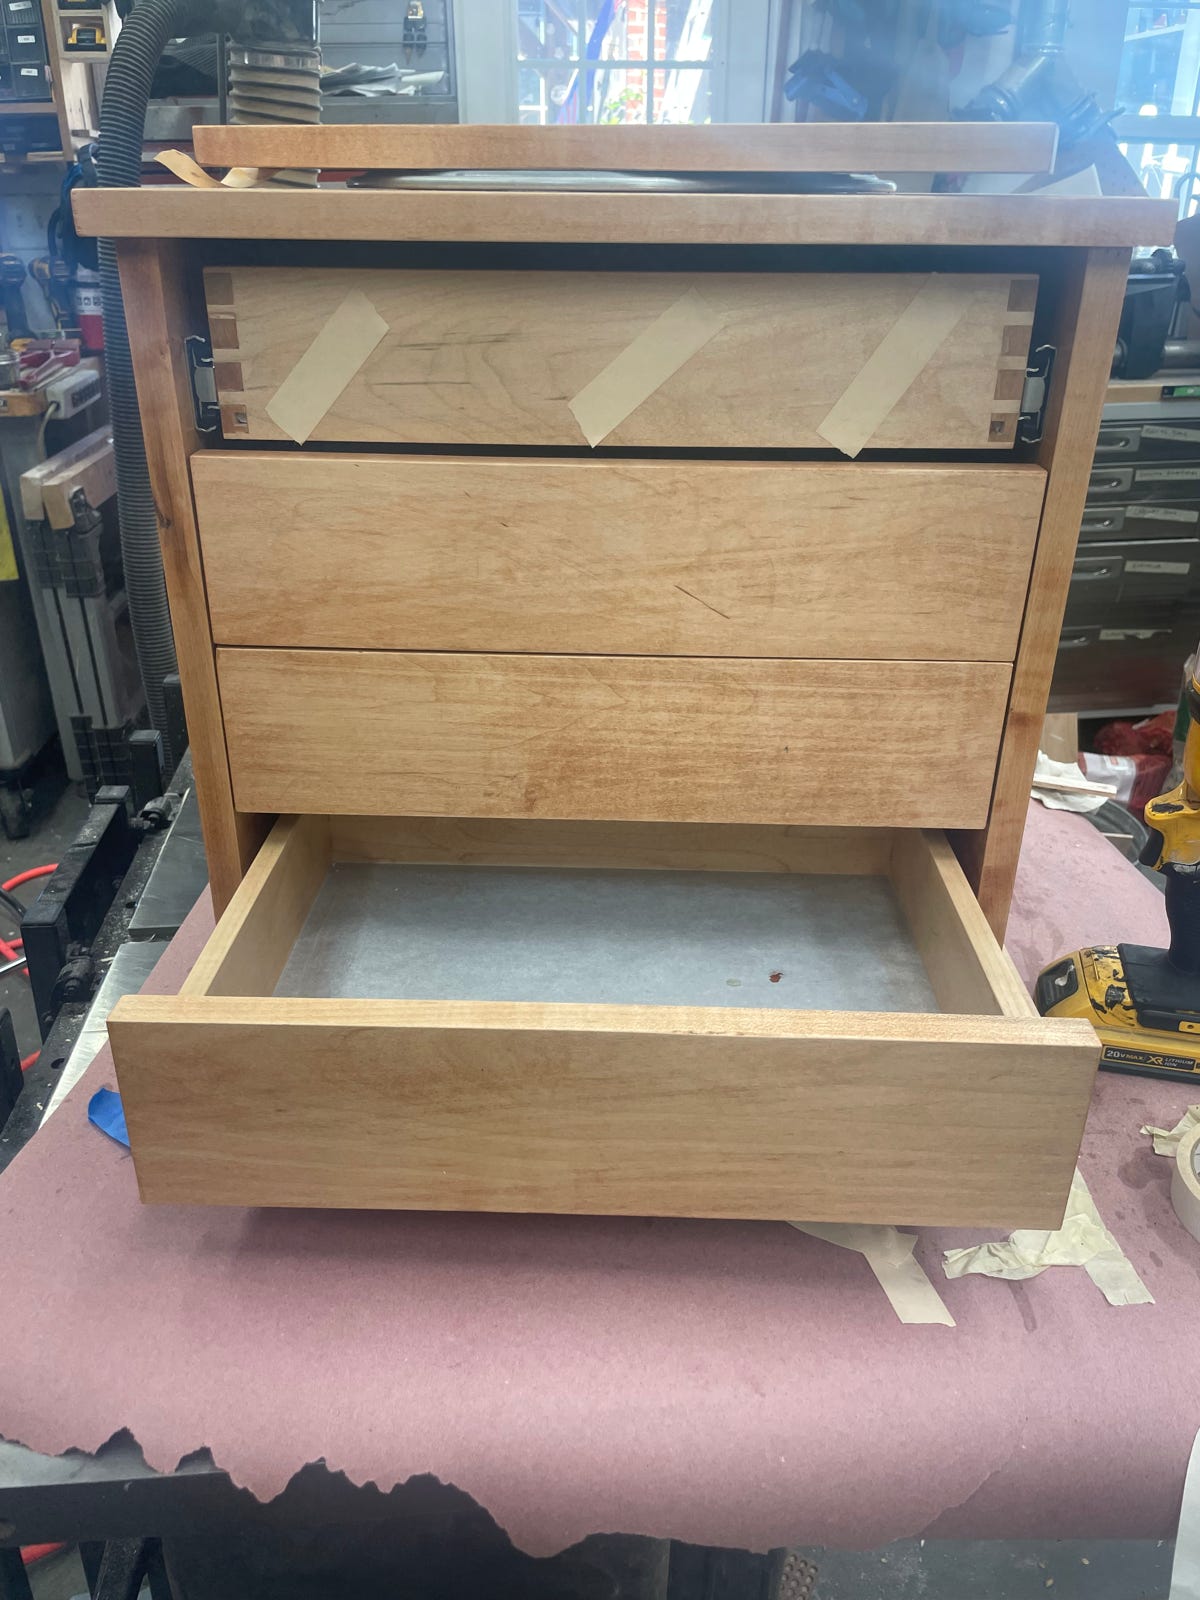
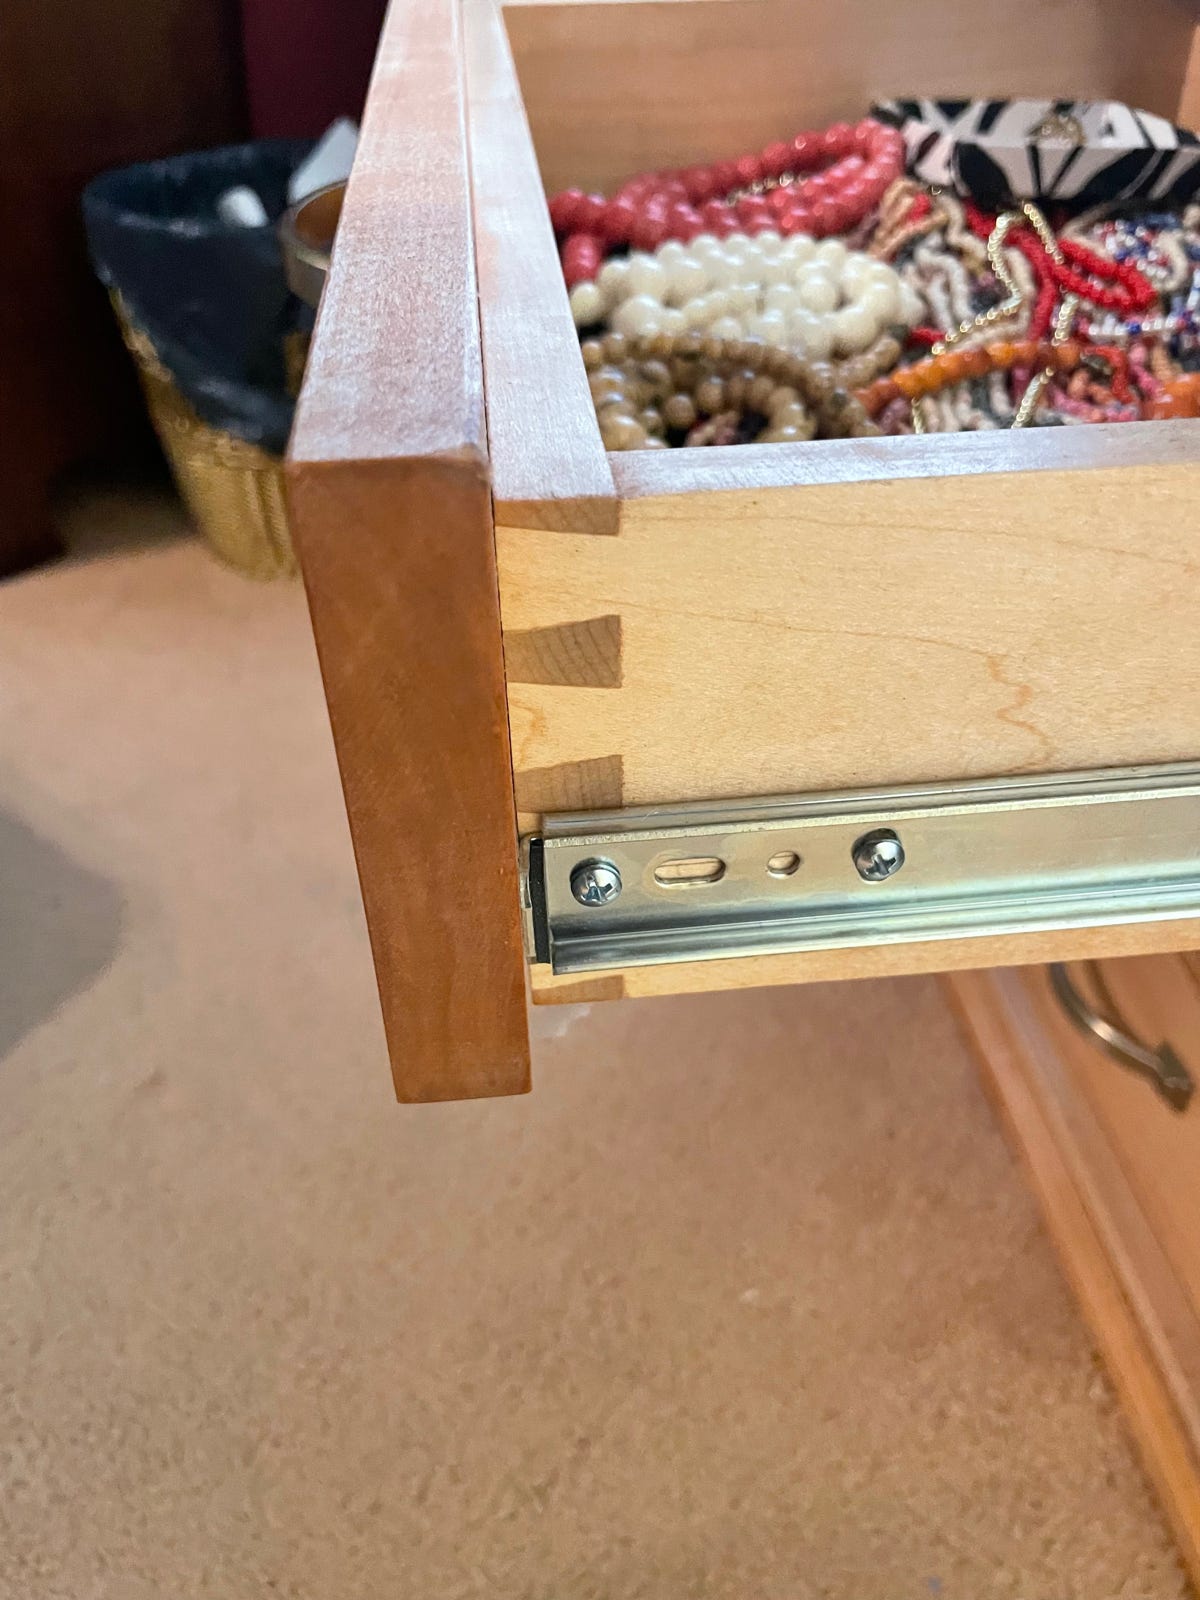
The drawer boxes with dovetail joints were made and assembled and the drawer fronts were cut. Clearcoat was applied to all exposed wood, drawer fronts and drawer boxes. The mirror was taped off to avoid clearcoat on the mirror. The drawer fronts were attached using two sided tape and 1/16” spacers for fitment then screwed in place.
Peel and stick black felt was applied to the inside of the top cabinet and the bottom of the drawers. The hooks were screwed in for the bracelets and necklaces. The ring holders were glued in and the earring strips were attached to the inside of the doors.
